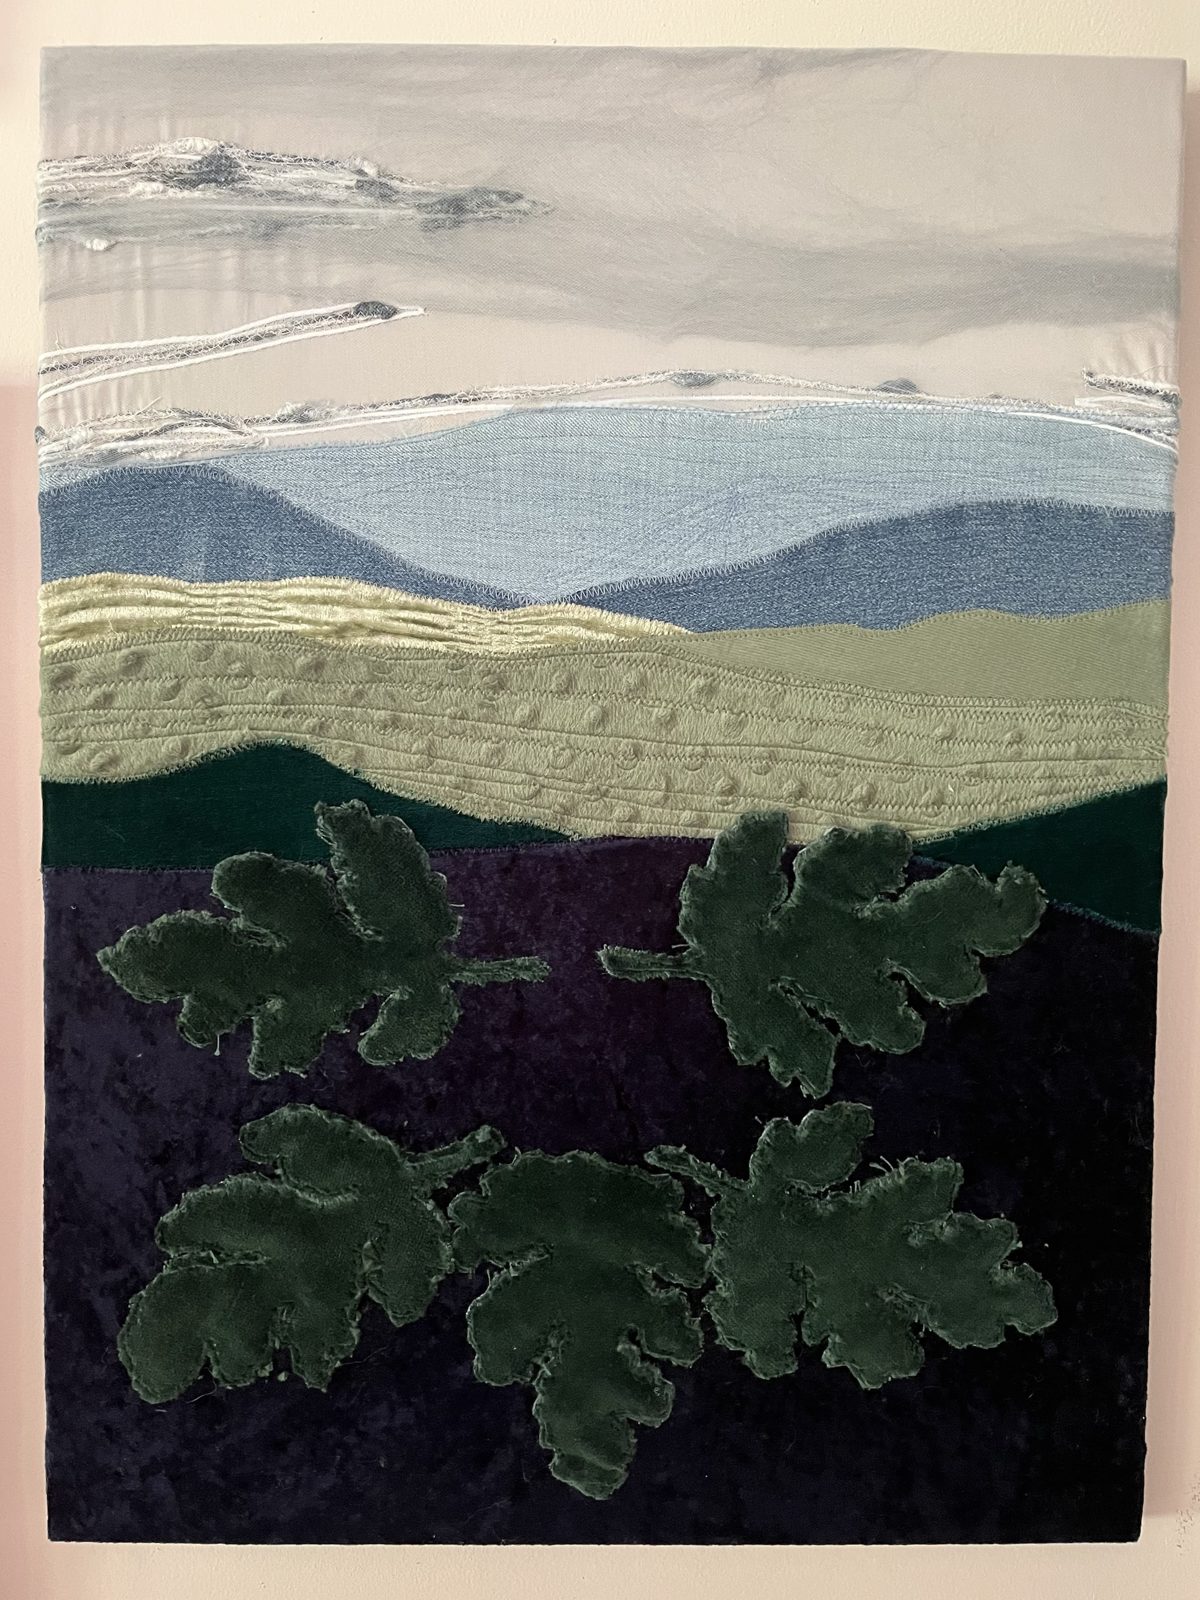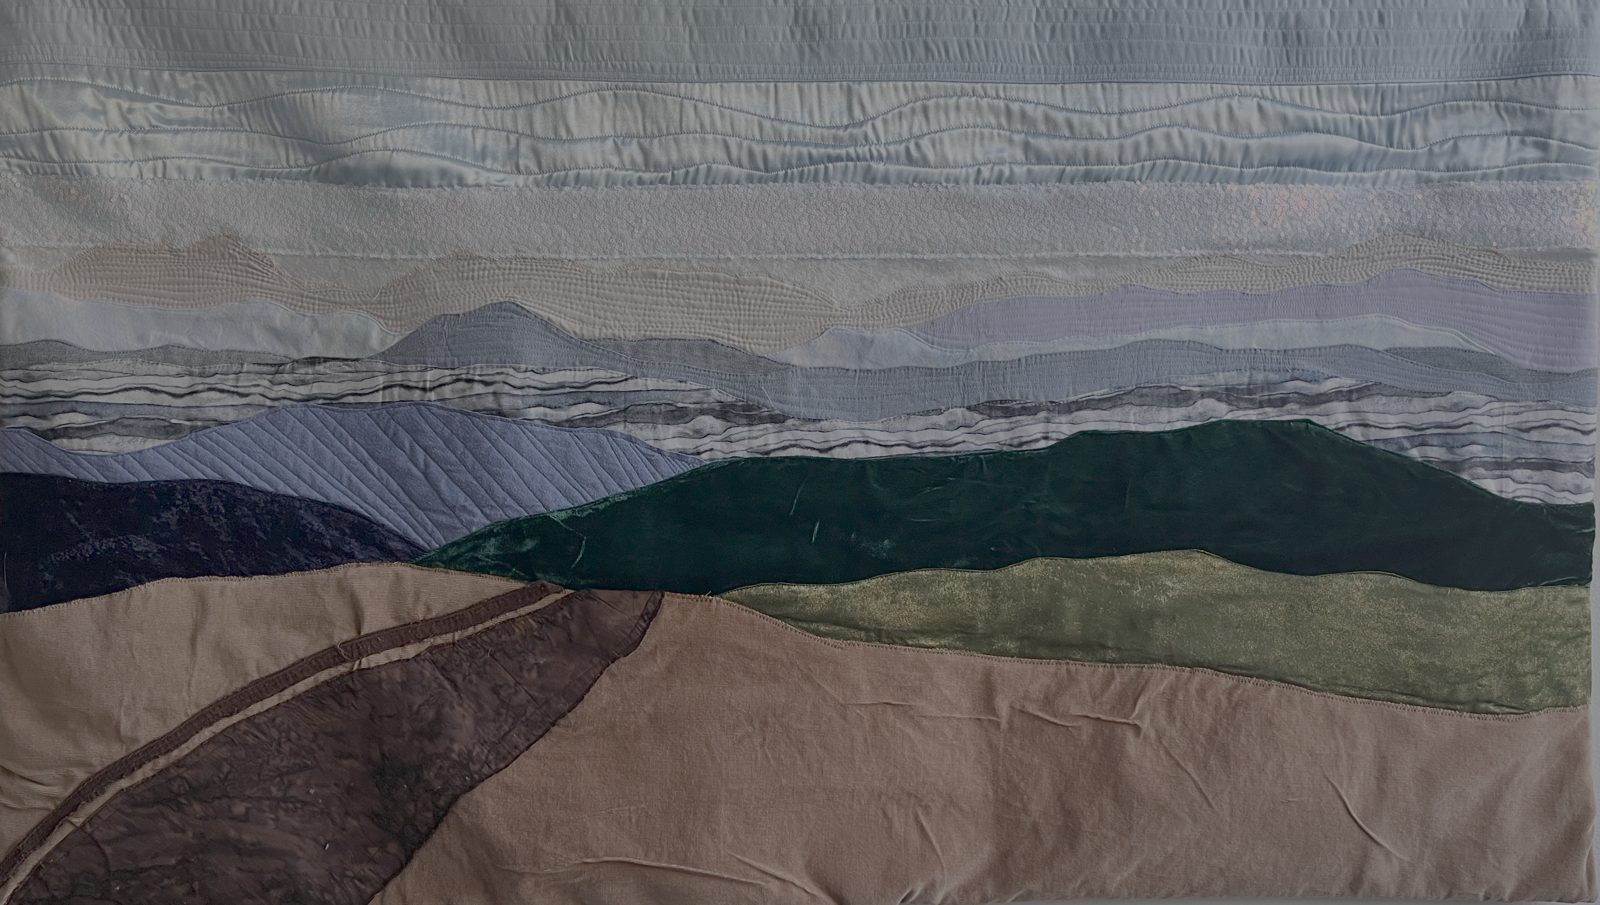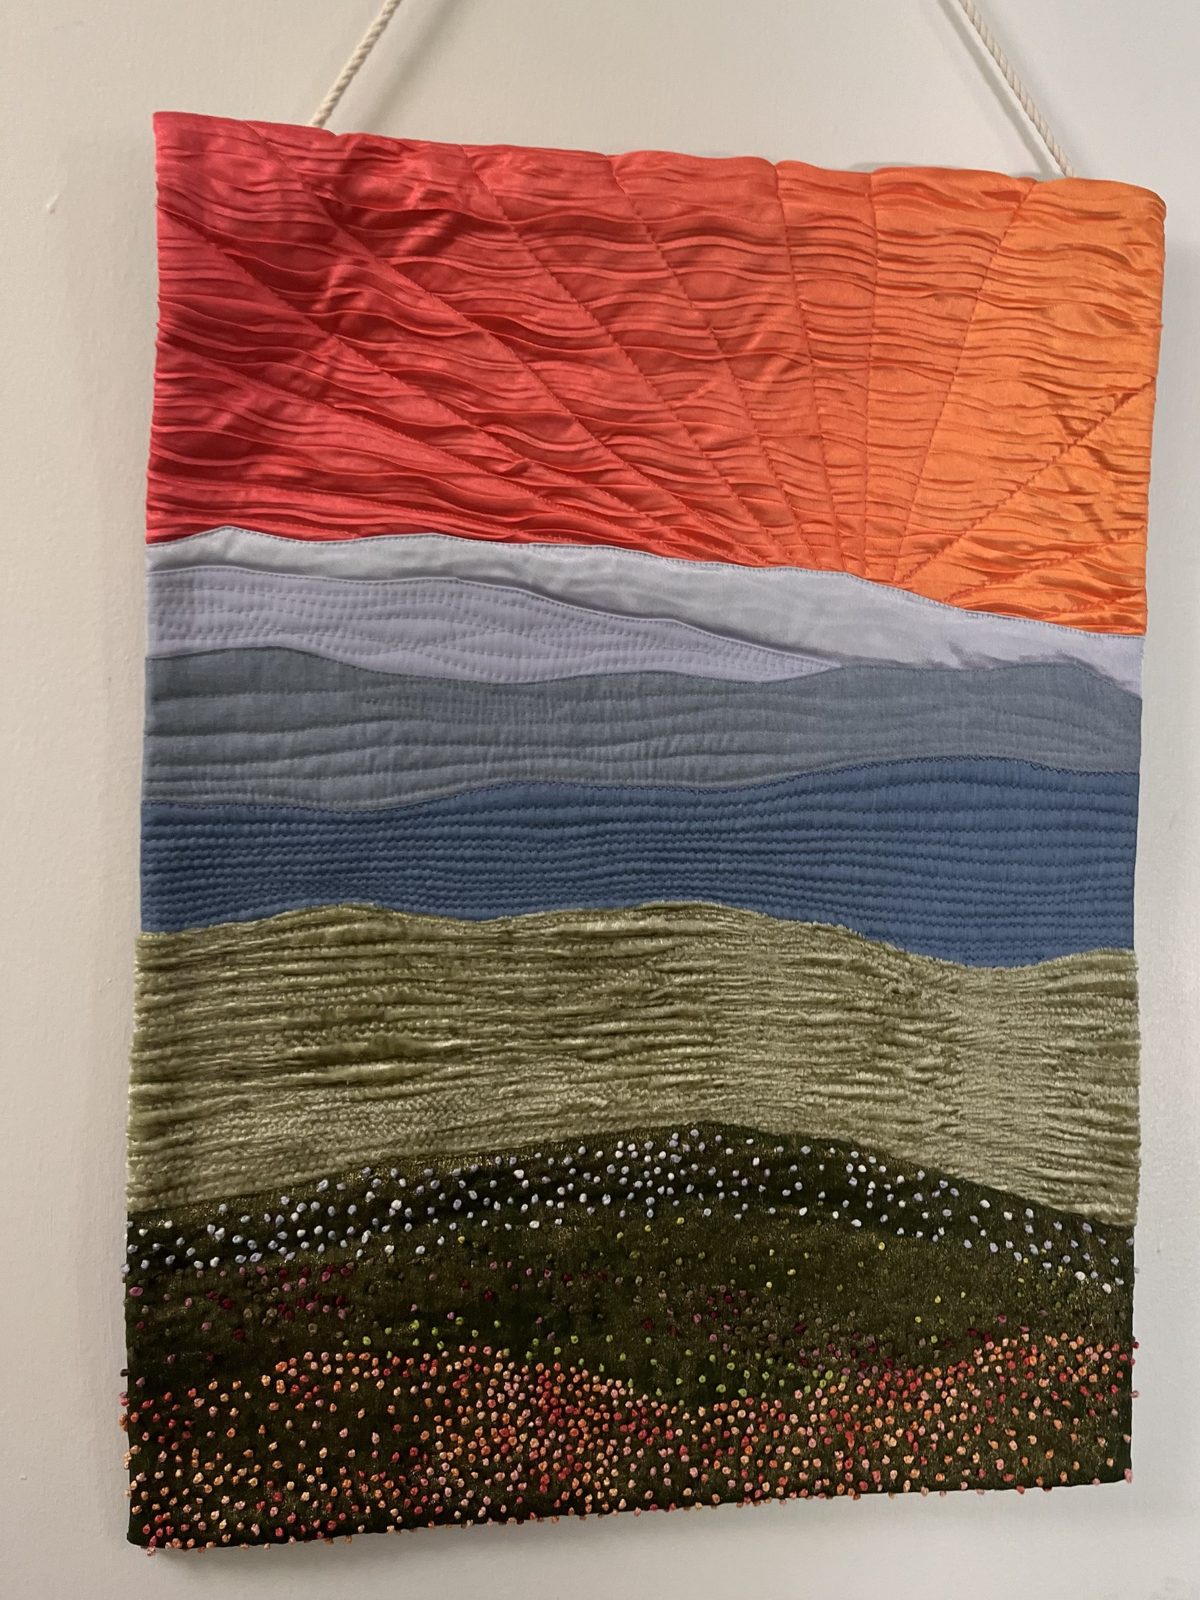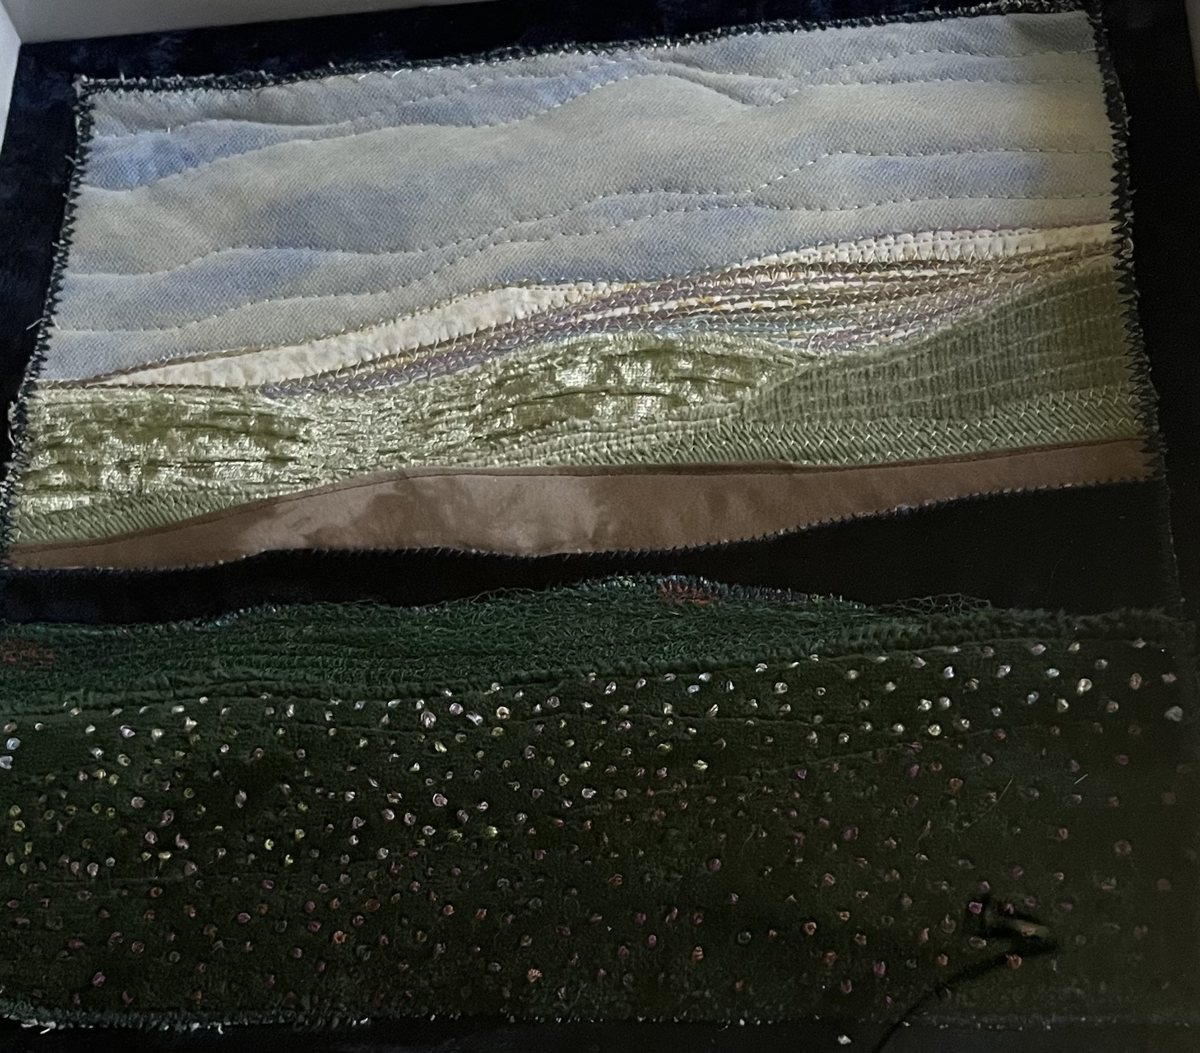
Stitch Library

Stitch Library

Every technique from the Landscape Art Quilt pattern, one card each.

LAYERING

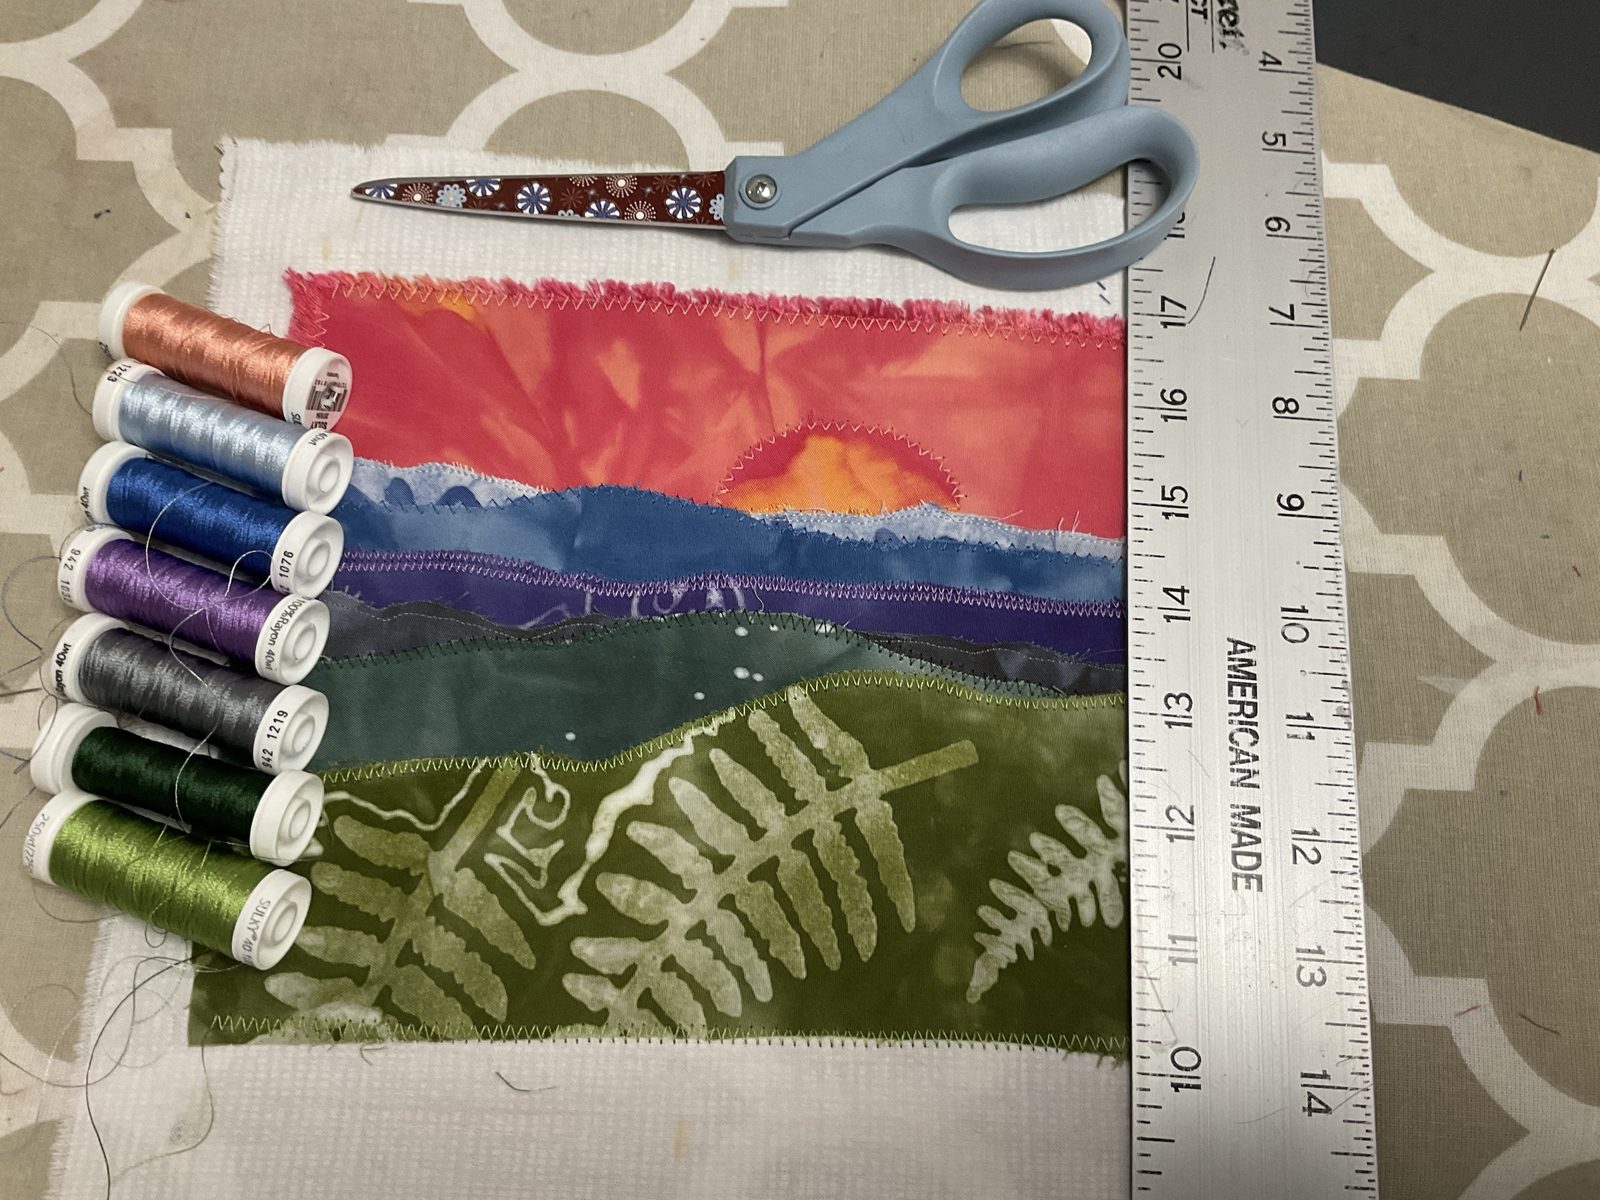
Raw edge

BeginnerQuickTextured edge

Each layer keeps a scant ⅛″ raw edge, stitched down flat with no turning under. The quickest method, and well suited to beginners.

LOOK
The edges soften over time for a deconstructed, textural finish.
BY HAND
Whipstitch, running stitch or backstitch.

If your stitching misses part of the edge, sew a row of straight stitches right beside it to catch it.

In the full pattern: steps 6, 10–14
Watch the reel

Turned edge

IntermediatePreciseWon't fray

A crisp, folded edge. Each layer gets a ¼″ seam allowance (up to ⅜″) that's turned and pressed to the wrong side before stitching. It's classic appliqué with a simpler method, and it works for any image at any size.

YOU NEED
Interfacing on each layer, a seam gauge, and a hot iron.
BY HAND
Whipstitch, running backstitch, slipstitch or blind hem stitch.

Once the allowances are pressed, the layer numbers flip to the bottom-right corner and read backwards.

In the full pattern: steps 6, 9–14

MACHINE STITCHING

Decorative quilting

All levelsMachine

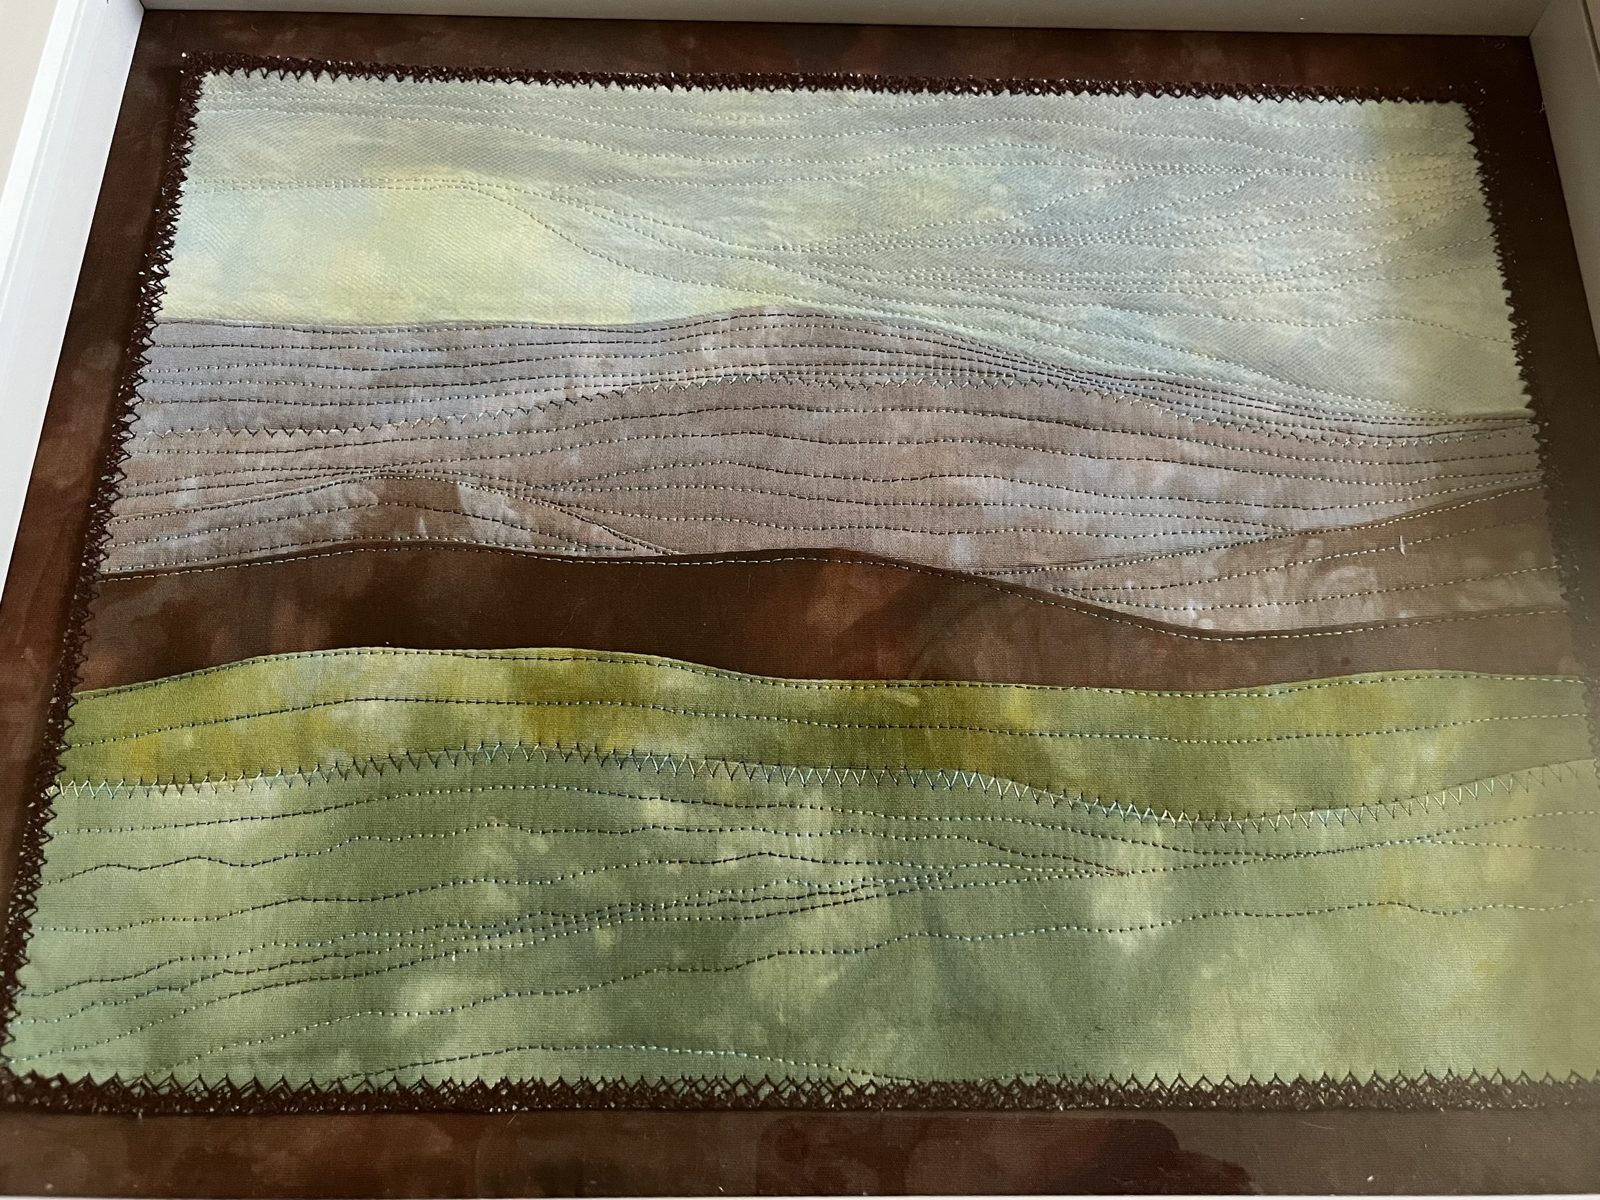
The stitching is where a flat stack of fabric turns into a mountain range. Quilt each layer in a coordinating thread, and save the skyline for last.

  1. Stitch close to the top edge of a layer.
  2. Stitch close to its bottom edge.
  3. Split the difference with a line in between.
  4. Try undulating lines: they make one fabric look like several ridges.

A straight stitch gives a minimal look. A zigzag adds movement. Alternate them, then break the pattern once in the middle layers.

In the full pattern: step 15

Couching

BeginnerMachineTexture

Couching means laying a thick fiber on top of the fabric and zigzagging over it to hold it down. Heavy variegated thread, embroidery floss or yarn all work. I use it for clouds, sunsets and wind across the sky.

  1. Lay the floss or yarn where you want the line. A dab of glue holds it.
  2. Set a zigzag just wider than the fiber.
  3. Stitch slowly so the needle swings over the fiber, not into it, and steer it along curves as you go.

Matching thread makes the fiber look like it's floating. Contrasting thread makes the zigzag part of the design.

In the full pattern: step 16 and "Ways to embellish"

EMBELLISHING

Watch the reel

Wool roving under tulle

BeginnerSoft texture

Soft, atmospheric skies. Wisps of wool roving go down on the sky, a layer of tulle or another sheer fabric goes over the top, and stitching holds it all in place.

  1. Pull roving into thin wisps. Thinner looks more like cloud.
  2. Arrange it on the sky, then lay tulle over the whole area.
  3. Pin, then stitch around and through the clouds to trap the wool.

Felted wool works too, and so does any other loose fiber you can trap under a sheer.

In the full pattern: step 16 and "Ways to embellish"

Sequin mesh

IntermediateShimmer

Adds shimmer to the sky. I pair sequin mesh clouds with couched variegated thread.

  1. Cut the mesh into cloud shapes.
  2. Hold them in place with a dot of glue or a pin.
  3. Stitch with a longer stitch or a zigzag, going slowly over the sequins.

Sequins are plastic and melt under a hot iron. Press from the back with a cloth, or skip pressing once they're on.

In the full pattern: "Ways to embellish"

French knots

BeginnerBy hand

Hand-embroidered knots on the closest layers read as trees, wildflowers or fall color. The eye finds more detail up close.

  1. Bring the needle up where you want the knot.
  2. Wrap the floss around the needle once or twice.
  3. Hold the wraps snug and go back down right next to where you came up, not in the same hole.
  4. Keep gentle tension on the floss as you pull through.

More wraps or more strands of floss make a bigger knot. Cluster them unevenly so they look natural.

In the full pattern: "Ways to embellish"

Watch the reel

Hand stitches

No machine neededBy hand

The whole landscape can be made without a machine. Pick the stitch to suit your edge.

RAW EDGE
Whipstitch over the edge, a running stitch just inside it, or a backstitch for a solid line.
TURNED EDGE
Running backstitch, or a slipstitch or blind hem stitch to hide the stitches in the fold.
THE HANGER
Double thread, three times through each hole of a saw-tooth hanger.

Large, visible stitches in a contrasting thread can become part of the design.

In the full pattern: steps 11 and 19

FINISHING

Finishing

All levels

First, "true" the piece: trim it with a ruler to a square or rectangle with 90-degree corners. Then choose a finish.

ZIGZAG EDGE
About six passes of zigzag around the edges. A graphic edge.
BINDING
A 2½″ × 45–50″ strip for a traditional binding.
HANG IT
A saw-tooth hanger about 1″ down from the top and centered, or a rod pocket and dowel.
FRAME IT
A shadow box, with matching fabric on the back of the frame.
USE IT
As a patch, or as a pocket on a pillow or tote bag.

In the full pattern: steps 17–19

All of it, in one 10″ × 10″ landscape

The Landscape Art Quilt pattern walks through every step, with both edge methods and all the ways to embellish. For a first project, try the free Ridgeline Bookmarks pattern.